Repairing Statues and Figurines: The Step-By-Step Guide for Beginners
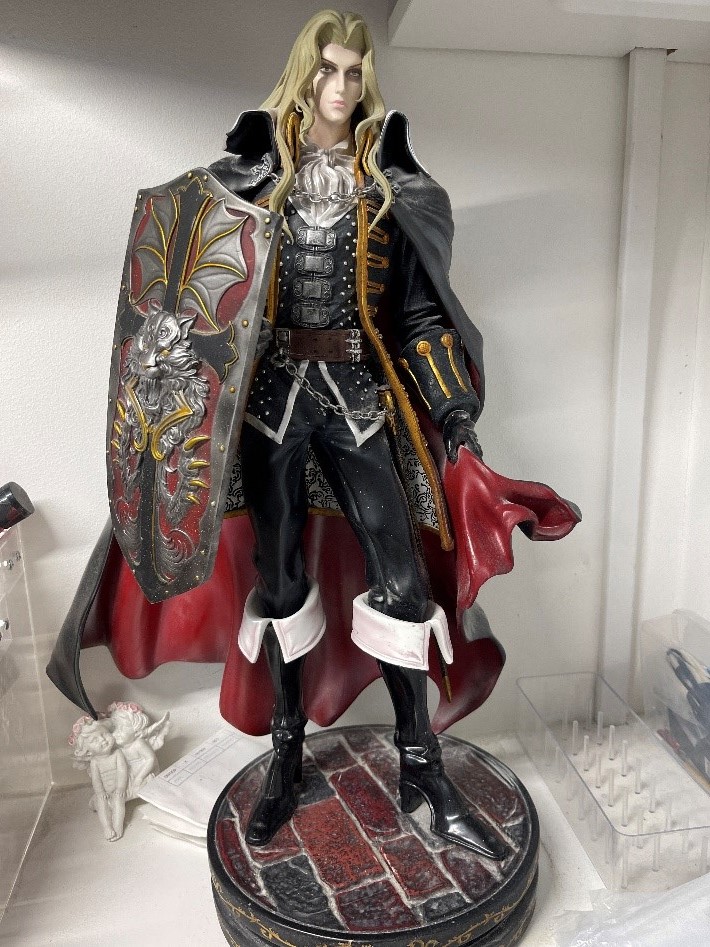
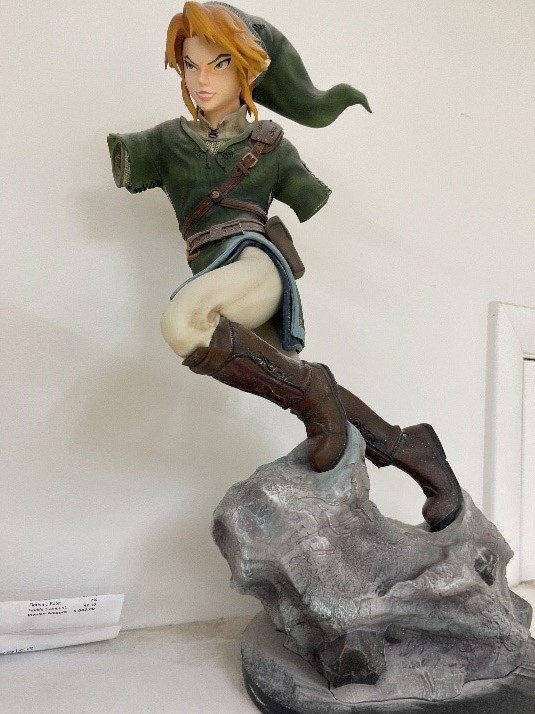
Ceramic figurines are small sculptures made from porcelain or clay, and are created by people who have a knack for ceramics. Techniques like wheel throwing, hand-building, and mold casting, are used to shape the clay. These figurines are fired at high temperatures which strengthens them. After this, they are painted and decorated with intricate details.
Still, these figurines are extremely delicate and are prone to damage. Many people just throw these figurines in trash cans once they are broken, but that doesn’t have to be the case. That’s because you can easily repair ceramic figurines yourself at home. So, are you ready to repair them to perfection?
Step 1 – Gather The Items
The first step is to gather all the items you need to repair your figurine. These items include PC clear epoxy, wooden sticks, a container with sand or PVC pebbles, a razor blade, a paper pad, 91% alcohol, and protective eyewear. Once you have everything, sit in a well-lit spot.
Step 2 – Cementing The Ceramic Pieces
The next step is clean all the ceramic pieces (yes, even if they are broken). If some of them have glue, you should use adhesive cleaners. Once the pieces are cleaned, follow the below-mentioned steps;
- Pour clear epoxy on the paper pad and mix it well with the help of a wooden stick.
- Apply this mix to one side of the ceramic piece with the stick but don’t add too much. The epoxy should cover the only edge, but using too little will impact the adhesive power so make it balanced.
- Place the broken ceramic pieces over the epoxy but make sure you put them within sixty to ninety seconds of mixing the epoxy. If you take longer than ninety seconds, the epoxy will become gummy and won’t stick the pieces together.
- Put them together while applying gentle pressure to ensure there is no extra epoxy.
- In case there are multiple broken pieces, plan the sequence for attaching them so there are no delays.
- Once done, put them aside at a temperature of around 75 degrees Fahrenheit.
Step 3 – Removing Excess Epoxy
When all the pieces are attached together firmly, there must be some extra epoxy. We recommend applying pressure during the attachment process so the extra epoxy oozes out. In You can use the blade for cleaning the epoxy but make sure you wear protective eyewear. Make sure the epoxy is dry (give the figurine an hour or two before you start cutting away the epoxy).
Step 4 – Filling & Sanding
Filling and sanding the figurine is important to ensure it looks smooth. For this purpose, you need a Dremel with an EZ lock sanding disc, epoxy filler, 220 and 400-grit sandpaper, rag, paper pad, 91% alcohol, and a rag. Once you have these items, follow these steps to ensure you get a smooth surface:
- You have to wipe all the surfaces with alcohol to remove the hand oils and dust. It is important for the epoxy filler to stay on.
- You have to mix the PC-11 filler and apply a thin layer of it. Then push the filler into the cracks and gaps. Once they are filled, you have to let the epoxy sit for twelve to 12-24 hours. In fact, you can put them under a lamp to make sure the epoxy hardens.
- After this, you have to use the sanding disc to sand the surface, but you have to be slow and use light pressure. However, if you don’t have a disc, you can use sandpaper.
- Once you have sanded the surfaces, use the alcohol to clean up everything.
This was the completion of the first round, but it’s not enough to ensure a smooth surface. So, you’ve got to do the filling and sanding again by following the below-mentioned steps.
- Use even parts of epoxy filler and fill the gaps and cracks. It is recommended to use a sepulcher to fill them up. Wait for an hour for the filler to harden up.
- Now, use the 200-grit sandpaper in long strokes and finish it with 400-grit sandpaper. After this, use alcohol to clean the surface, it will also help with painting.
Step 5 – Painting
This step is all about being crafty and having fun painting the details. You can paint the details by following these steps.
- Mix the acrylic paints to paint the surface in off-white color. You can airbrush the surface for a genuine feel.
- Once you are done with painting, give it two days, so the paint can dry well. In addition, you should apply cold glaze to protect the painted areas.
- Once the first layer of paint and glaze is done, you should airbrush the glaze again (use clear glaze). Ideally, you should use a micro-mesh to sand the first layer of glaze, wipe the dust, and apply cold glaze again.
This is all you need to make sure your statues don’t become part of the trash can. However, you’ve got to be extremely careful with the alcohol and epoxy because they can harm your hands and eyes. So always wear the protective gear to keep yourself safe.
Things To Remember While Repairing a Statue or Figurine
Repairing ceramic figurines is a complicated process, as you have to cement multiple pieces together. For this reason, we are sharing some expert tips with you.
- Try to gather all the broken pieces in one place so you don’t miss an important piece while gluing them together.
- Always use a soft-bristled brush or a soft cloth to clean the pieces. It will help clean the dust, which will give you better adhesion and painting.
- Always use a thin layer of epoxy because adding too much can create a gummy surface, leading to adhesion issues
- It’s better to test the adhesive power of the epoxy on something else before using it on figurine pieces. You can use it on some glass pieces or a broken plate.
- After applying the epoxy, support the pieces with clamps and tapes to ensure the pieces don’t fall off.
The Bottom Line
Working with ceramics is one of the most exciting activities out there. In fact, making a figurine from broken pieces can be a satisfying and rewarding experience. However, it can be tough for beginners, which is why we provided a comprehensive guide to help you. So, are you ready to take on have some fun doing statue and figurine repair?